Videos can be shared in a variety of ways on Facebook. You have the option to:
- Share a link to a video created in another platform such as YouTube or Vimeo.
- Create videos within Facebook using Facebook Live.
- Or upload a video created on your phone or computer to Facebook.
If you are sharing a link to a video created in another platform, you’ll need to add captions within that platform. You can find information on this topic in the Additional Resources section.
Currently the processes for adding captions to videos on Personal pages and Business pages are different. Both are explained below.
The primary focus here is on using the tools available in Facebook to provide captioning. However, captioning is not the only consideration when creating an accessible video. It’s also important to make sure that those who are not able to see the visual content have access. This can be done by including visual descriptions within the narration of the video or adding those descriptions separately.
Facebook LIVE Videos: Real Time Captioning
It is now possible to caption Facebook LIVE broadcasts. For most people this will involve contracting with a third party provider to configure and live stream the captions. Information about how this is achieved is available on the Facebook site here: Enabling Closed Captions on Facebook Live Broadcasts
Uploaded Facebook Videos: Business Pages
From your business page, select the Photo / Video button below the Create a New Post text field.
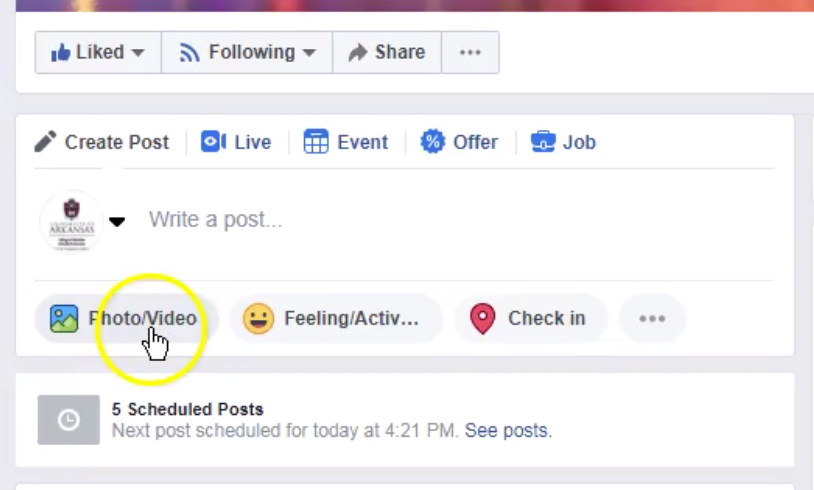
Select the Upload Photo / Video Link

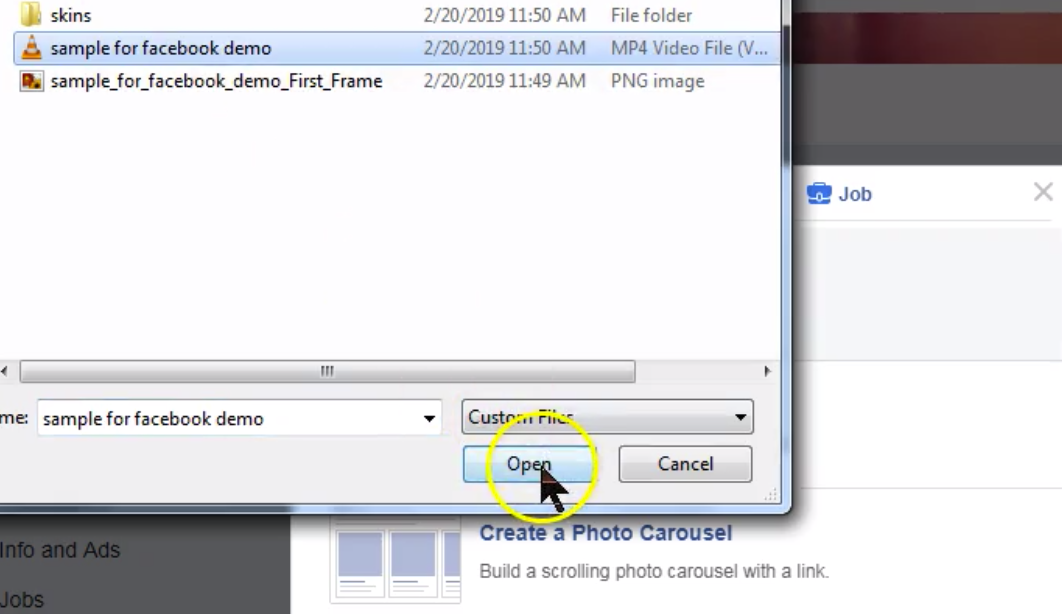
A dialog box will open. Select the file you want to upload and then select Open.
Add video title, description and tags.
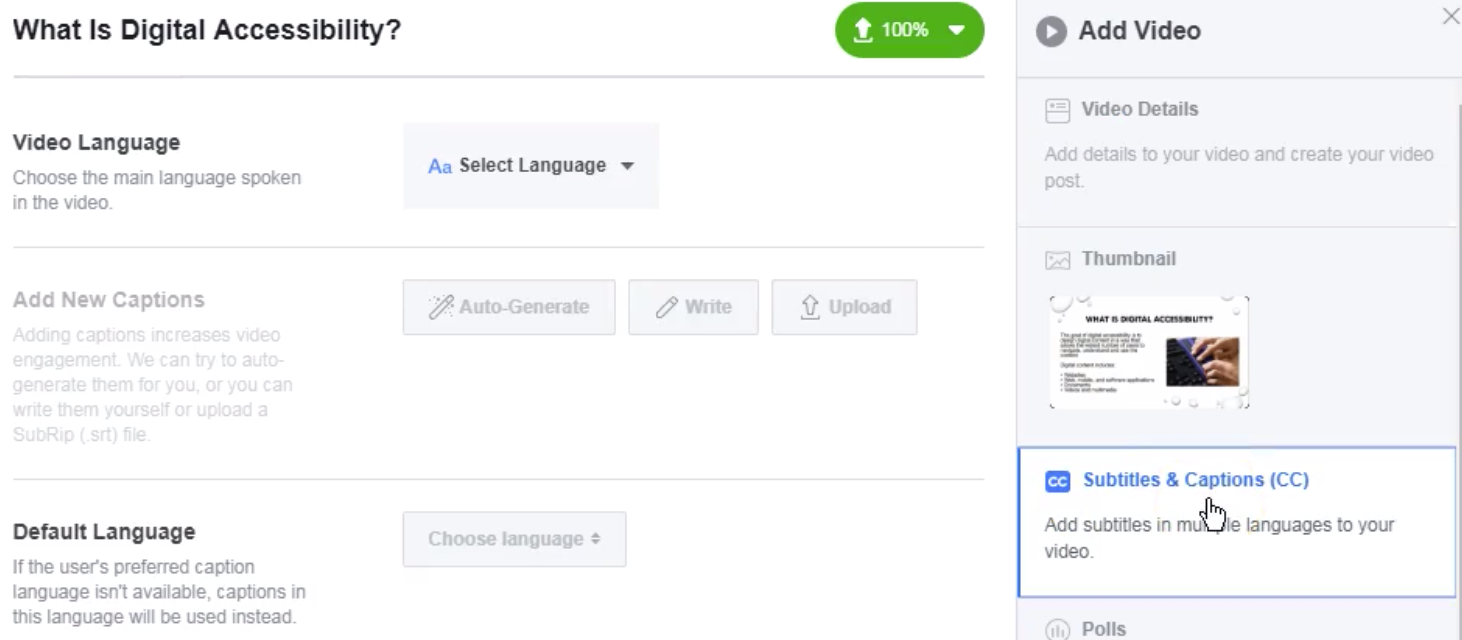
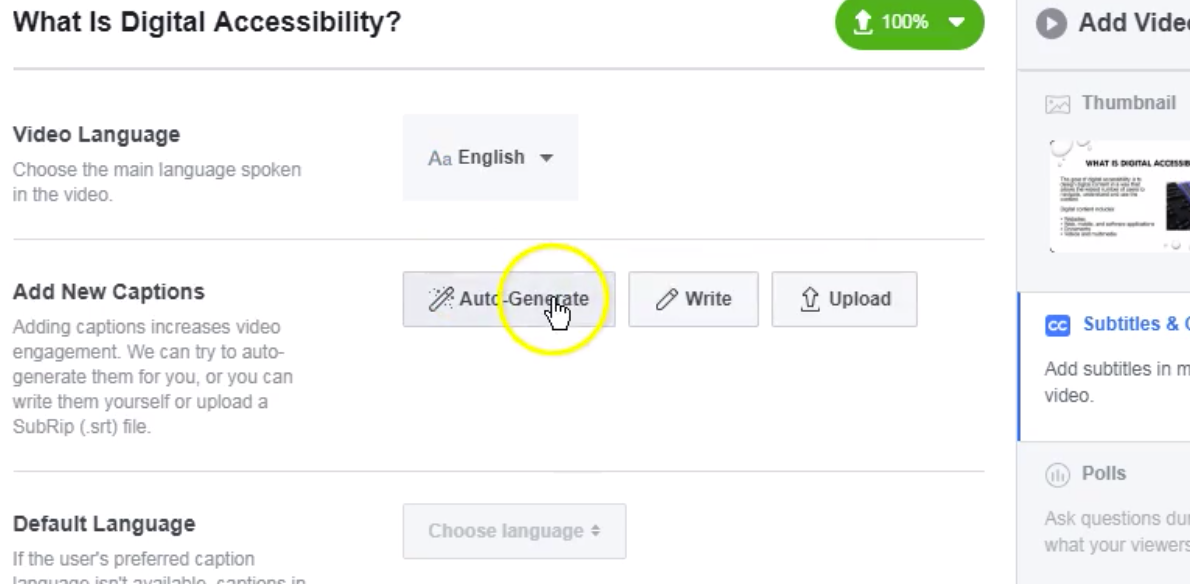
Select the Subtitles and Captions button to the right.
Select the language using the dropdown menu.
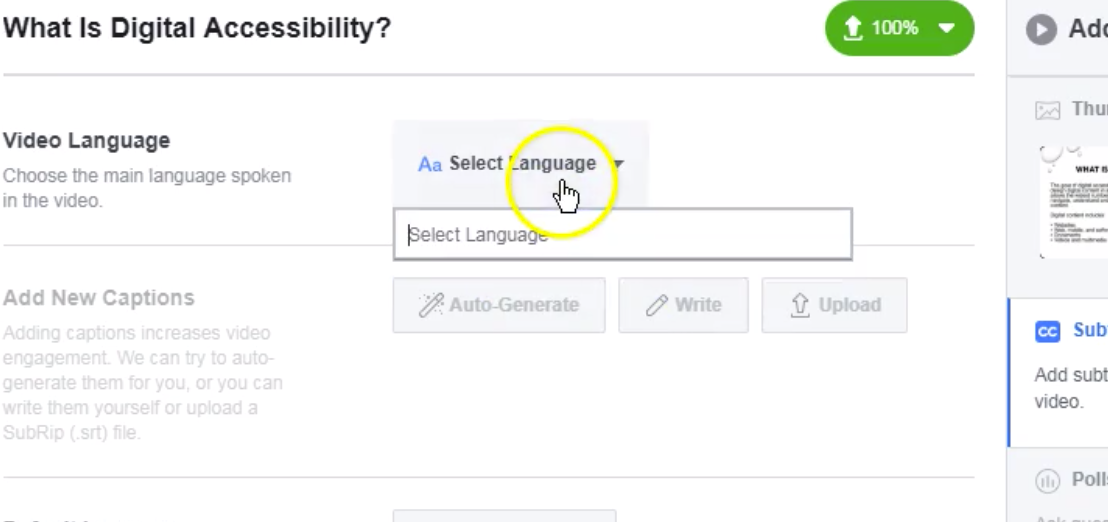
At this point, you can either Upload a caption file you have already created, create your own captions by selecting Write or selecti the Auto Generate option.
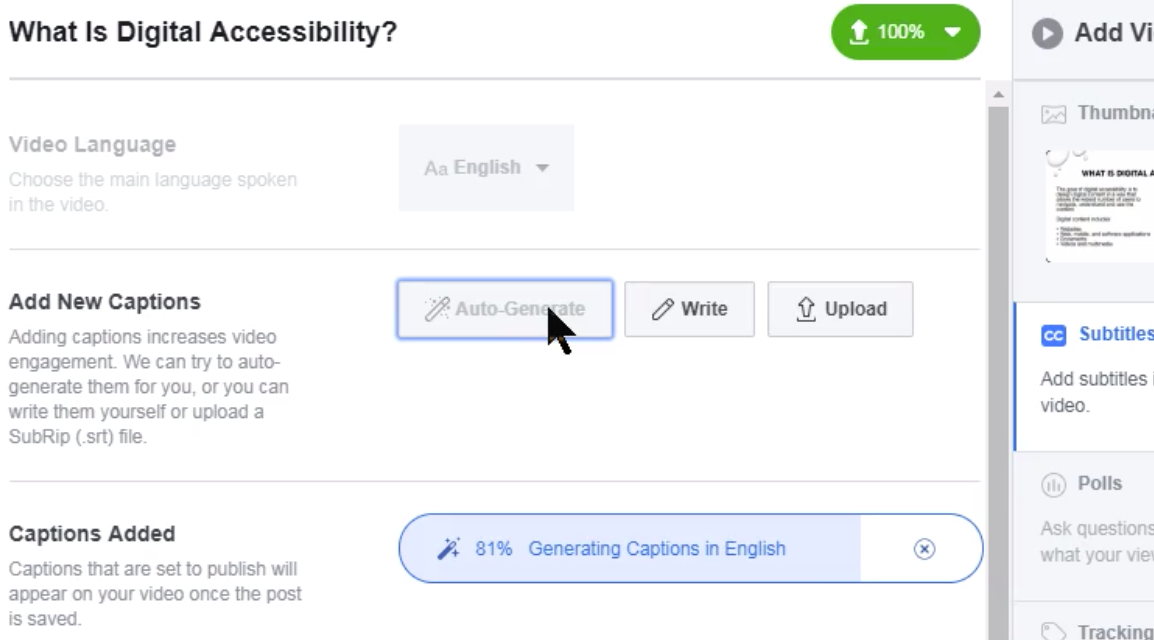
For this tutorial, we’re going to select Auto Generate.
[NOTE: While auto generate offers the convenience of creating a transcript that can be used as a starting point for creating captions, the accuracy may vary widely. If the video is complex, you may save time by creating your own transcript off line. Also, there is no way to export the transcript. Having a text transcript available provides access to people who are DeafBlind.]
You will see a bar that shows the status of the auto generation process.
Once the process is complete, select the pencil icon to the right of the label that reads Captions Added.
![]()
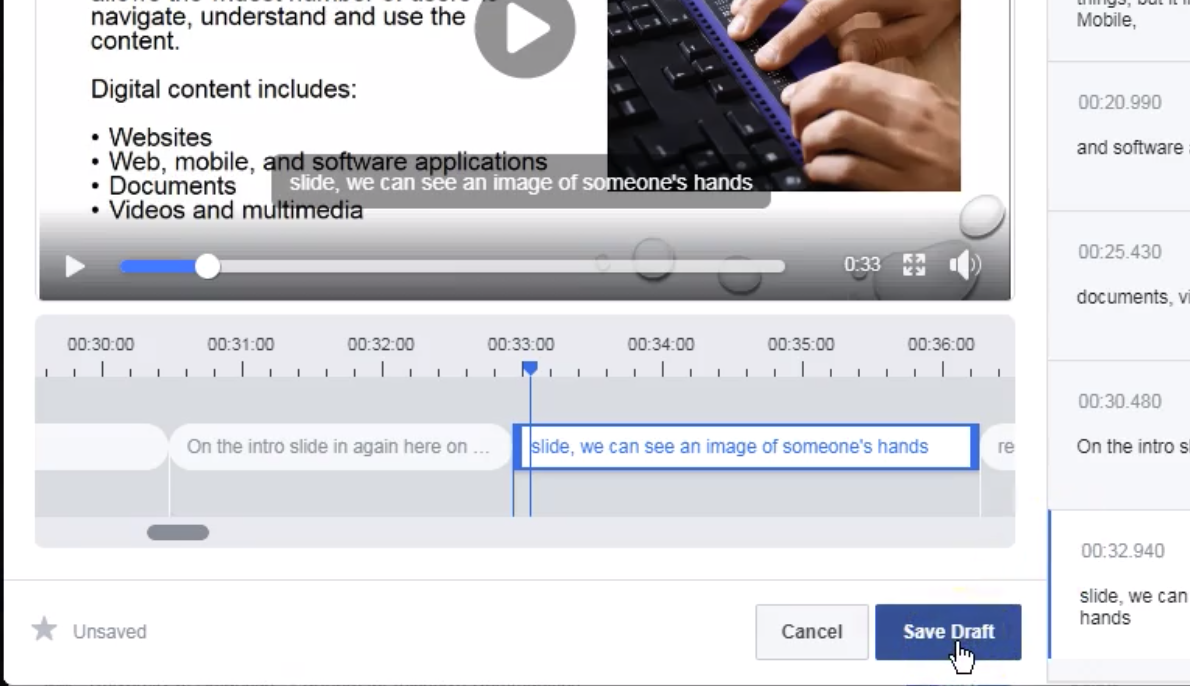
Edit the transcript on the right by doing the following:
- Edit inaccurate text.
- Make sure breaks in text occur at appropriate intervals.
- Add capitalization and punctuation.
- Add information about sounds other than speech such as music or a knock at the door.
- Indicate who is speaking when there are changes.
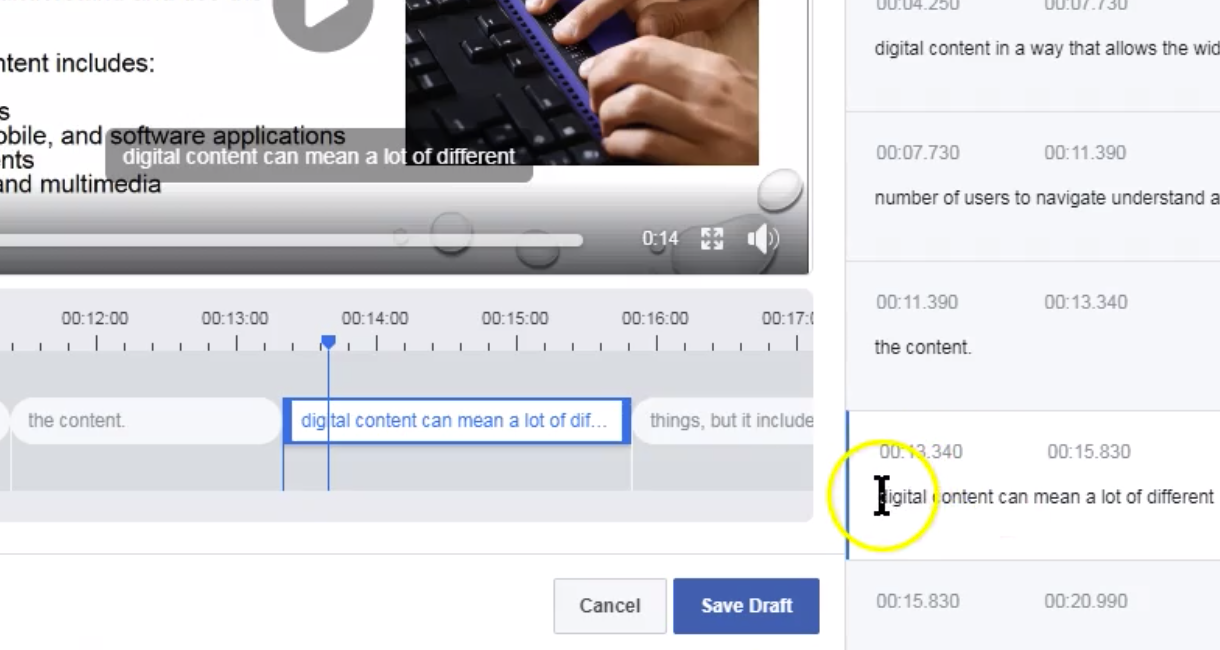
Select Save Draft.
Set the Default Language and select Next.
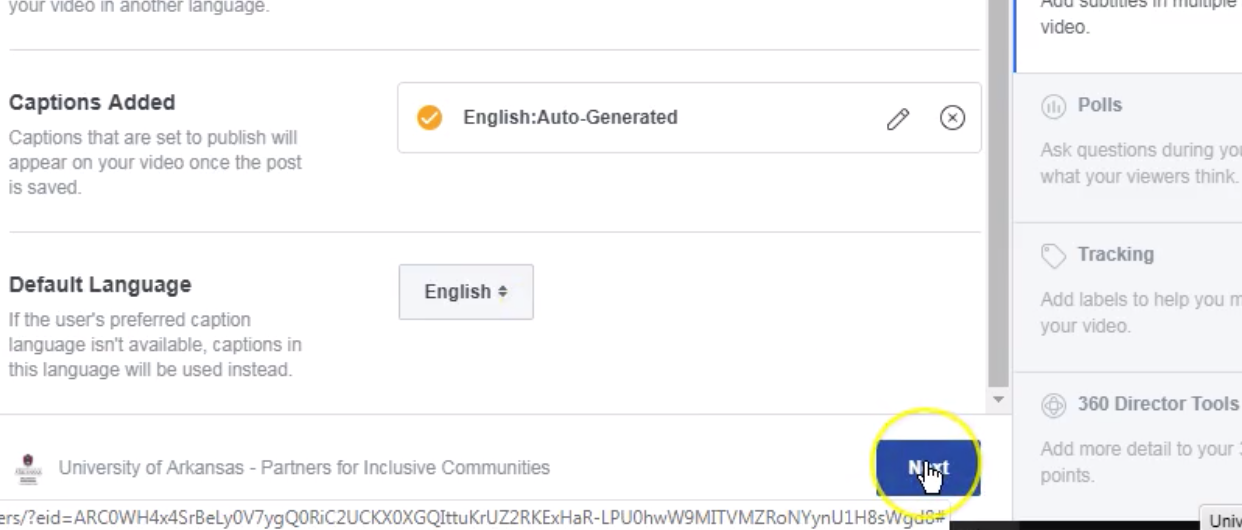
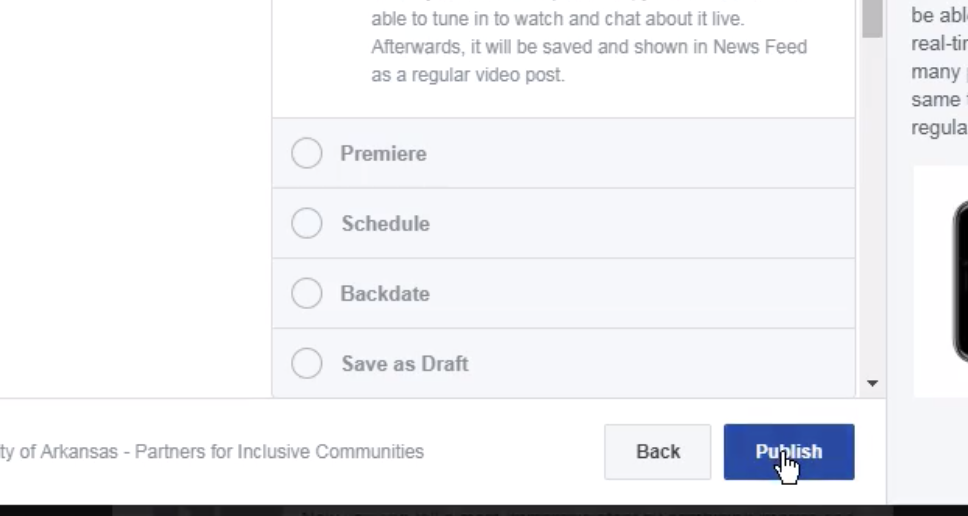
Make any other setting changes you need to and then publish your video.
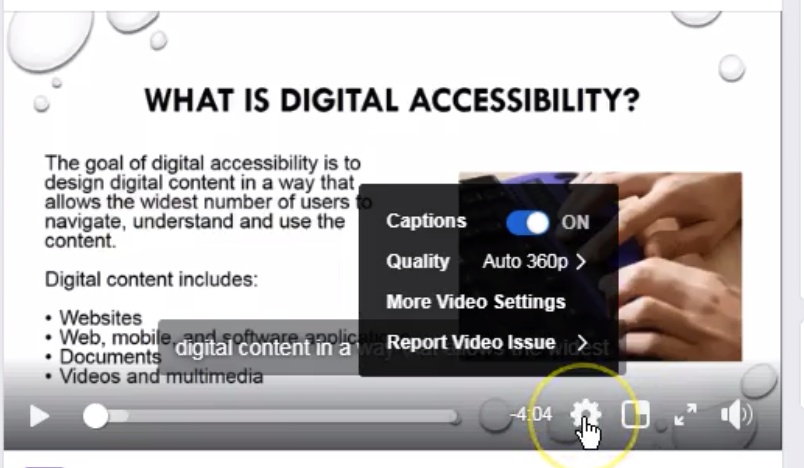
Next, you’ll want to make sure the captions are on by default and make the captions more visible by changing the opacity. To do so, first select the Settings icon. This will open up a small menu. Check to see if captions are turned on. If not, change this setting to “on”.
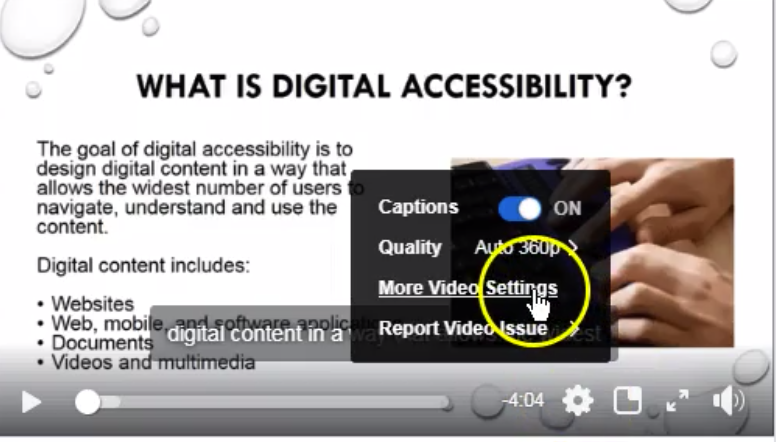
Select More Video Settings
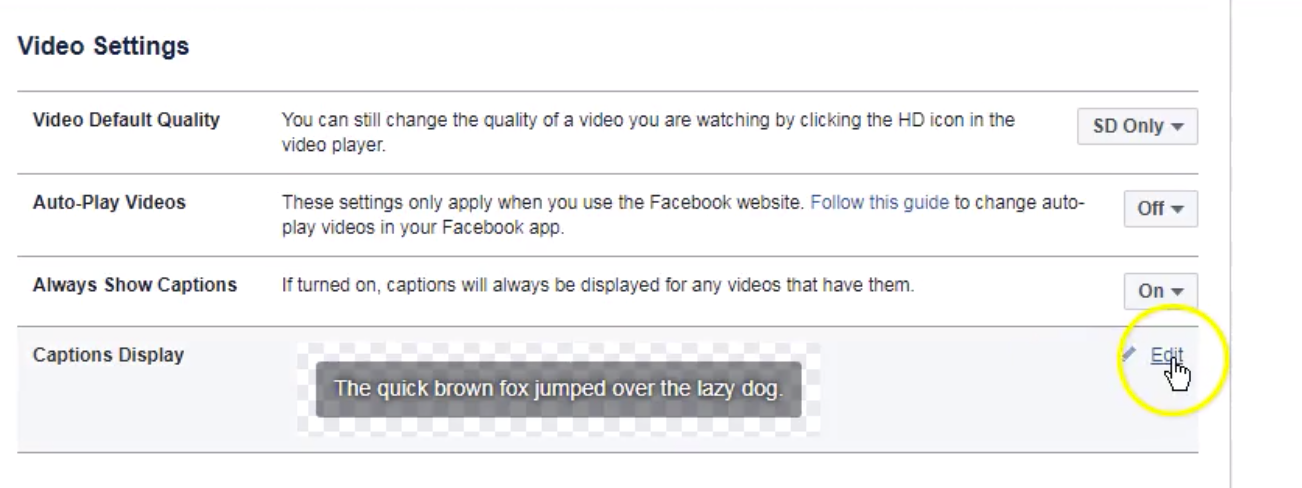
Select the Edit link to the right of Caption Display
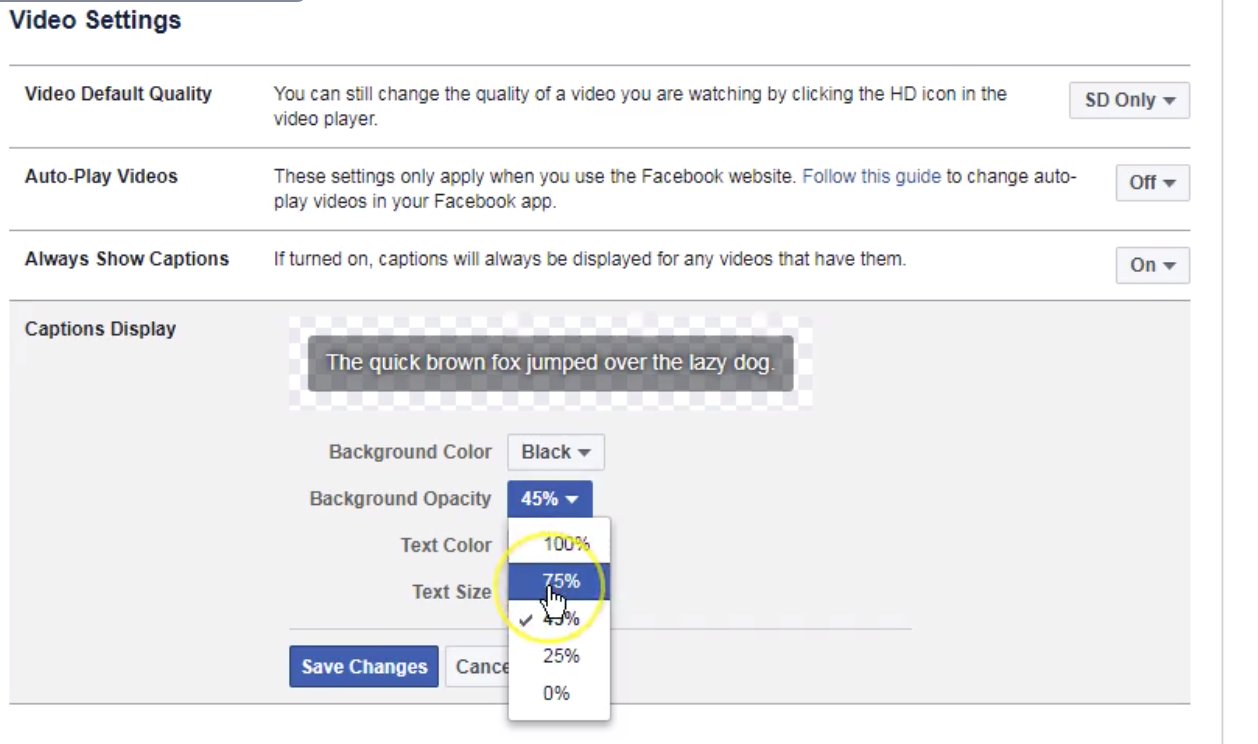
Using the dropdown menu labeled Background Opacity, change the opacity to 75 or 100 percent.
Save your changes.
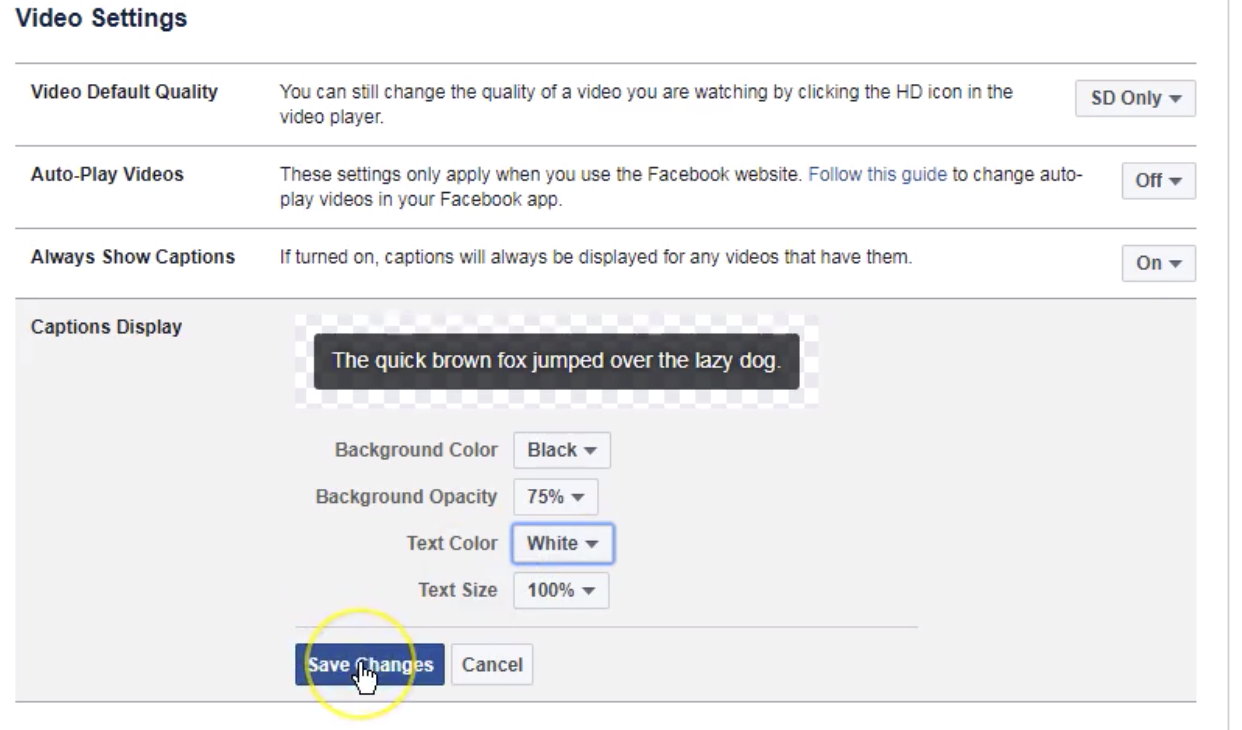
You should now be able to see your captions on your video.

Double check your work and then make edits if needed.
Facebook LIVE Video Replays and Videos Previously Uploaded: Business Pages
Facebook LIVE videos and uploaded videos can also be captioned or edited after they have been posted. Of course, it is best to caption them as they are being transmitted or uploaded. Otherwise, not all people have equal access to the content at the same time.
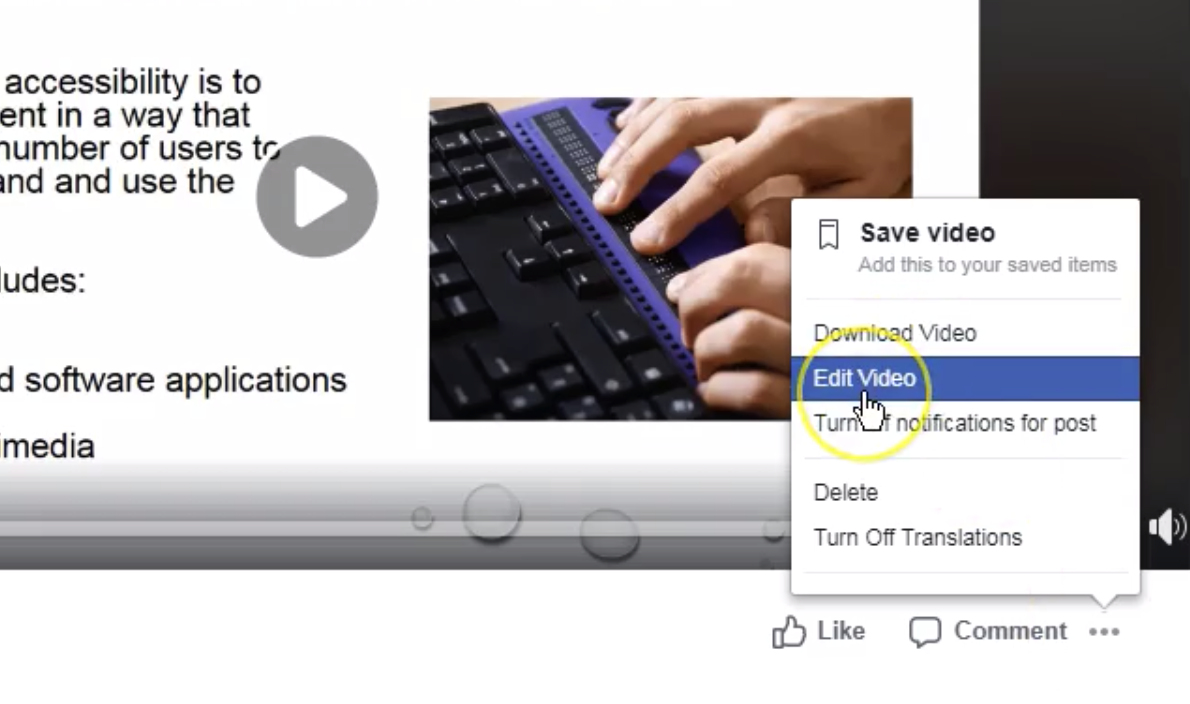
If you have already created or uploaded a video and want to add captions, you start by selecting the video. You may have to double click on it to select it. Then chose the three dots either below the video or to the right of the video and select Edit Video.
NOTE: The menu indicated by the three dots does not seem to be accessible by keyboard only. We have reported this to Facebook.
Once you select edit video, you can then follow the same process described in the previous tutorial on adding captions to uploaded videos.
Captioning Videos: Personal Pages
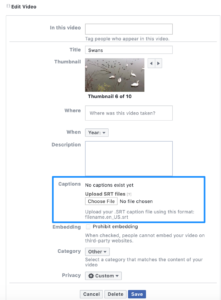
If you want to add captions to a video on your personal page, you will not be able to access the video editor described above. You will instead have to create your captions offline, save the caption file, and upload it to Facebook. Below is a screen shot of what you will see when you select “Edit video” from your personal page. We’ve highlighted the location where you can upload your caption file with a blue square.
You will find information on creating a caption file off line or using other tools in the Additional Resources section.
<< Back to Social Media Intro Next: Twitter >>
This tutorial has been developed through a cooperative agreement with Arkansas iCAN through a project focused on Increasing Digital Access in Arkansas.